

Retouching Secrets of the Pros: Frequency Separation Made Simple!
Frequency Separation is a technique that has gained lots of attention, here is a simple guide taking you through the process so you can start mastering this powerful technique.

Few workflows for retouching photos have made the splash that Frequency Separation has. For me the name itself grabbed my attention somewhere around 10 years ago. After that first “Frequency What???” reaction I started to work on learning how to make use of this mysterious technique, but it was not until my friend Dan Ecoff made an off hand comment saying “It’s really good on wrinkles!” that it really began to click.
You see for high retouchers smoothing wrinkles on textured clothing was always a pain. Dodging and Burning, or using the Healing Brush could only get you so far. So anything that promised to ease this task seemed worth learning about.
Since then I have increasingly incorporated Frequency Separation into my workflow making challenges retouching tasks so much easier. These days you can find lots and lots of videos on YouTube showing how this use powerful technique, so I’m not gonna dive too deeply into the various uses for F/S here today.
Instead I’m going to share a simplified outline showing you the steps needed to set up your own Frequency Separation Layers as you work on mastering this technique. And yes, there are lots of actions available on the web as well making setting these layers up a simple one or two click process. But what happens when those actions break down? Knowing how to set them up manually will always be your backstop in those situations.
For this example I’m using a shot from photographer Anthony Nex. (We used this example in the book I co-authored with Katrin Eismann and Wayne Palmer a few years ago, Photoshop Restoration & Retouching 4th Edition.)
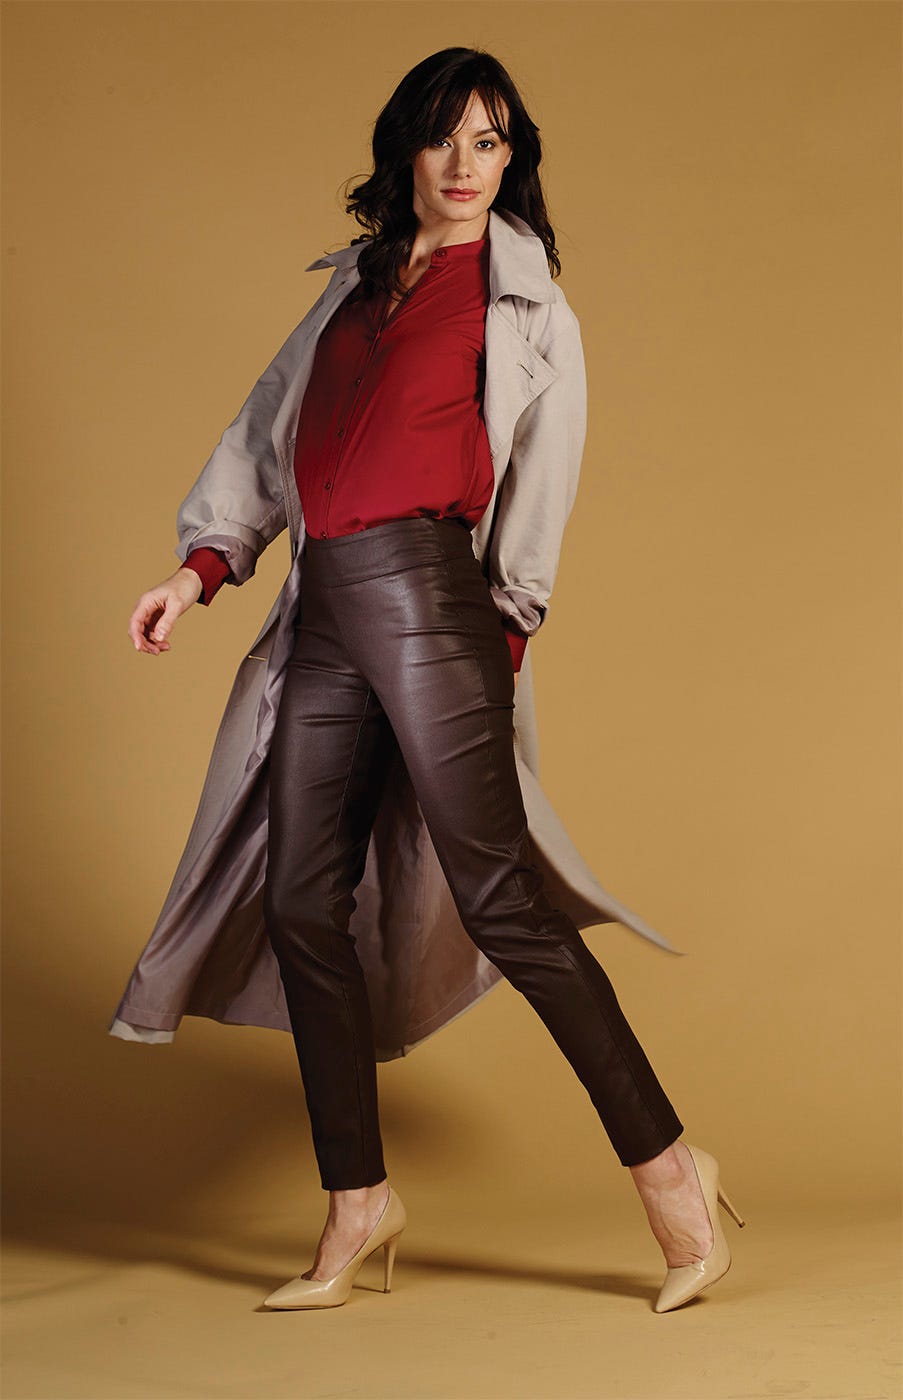
©Anthony Nex
The challenge here was to smooth out the wrinkles on her leggings. Looking closely we could see that shiny fabric also had a distinctive texture that needed to be kept making this a great candidate for Frequency Separation.
Step 1) Set up your Low and High frequency Layers Since this workflow depends on separating out the texture (High Frequency) from the color and tone (Low Frequency) we need to make 2 copies of the background layer. You can also merge your existing layers into a copy if you’ve done retouching/compositing etc on the image.
We can make these copies easily by selecting the background layer (or merged copy) and using the Layer>Duplicate Layer. The shortcut for this on a Mac is Command + J. Since the next steps require to select the correct layer from a dialogue it’s important to name these layers in a way that makes them easily identifiable.
My habit is to name the copies “Low” and “High” as you can see here. (I also like to put them into a Layer Group making it easy to turn these layers on an off all together so I can check my work).

Step 2) Blur the Low Layer
After making the copies the layers you’ll need to add some kind of blur to the Low Layer. This is where we start to depart from a lot of the workflows I’ve seen others use. (Earth Oliver was the first to tell me about this particular variation, calling if “FS 2.0”, and it’s become my default method. First click on the Low Layer make sure it is the one selected in the Layers palette. (I turn off the High Layer just above it to make it easier to see what is happening.)
In my own workflow I like to turn this Low Layer into a Smart Object, but it’s not completely necessary. With the Low Layer selected go to the Filter menu and under the Noise option choose Median.

The benefit for using Median over say Gaussian Blur is that Median does a very good job of protecting the edges where say her leggings meet her coat, or blouse. Using Gaussian Blur would tend to blend those edges making it very challenging to work too closely to them.
Setting the correct amount for the Median Blur depends on a lot of factors. The more you use this technique the more finesse you’ll have when choosing the amount you apply. (This is also where making this layer a Smart Object first helps because it is easy to adjust the amount being applied after you first run it.)
The goal here is to choose an amount that separates enough of texture from the color and tone. So it will vary from image to image, as well being affected by just what you need to do. When using this I look for an amount that just gives me something that will easy to work with.
For these leggings the texture is pretty fine, so if I want just the color and tone I don’t need to use a large amount of Median. In this case I chose 6 as you can see in the screen grab below.

After applying the Median Filter I always like to have a fall back option, just in case I mess something up. So I will make a copy of the blurred Low layer right away and clip it to the one I just applied the blur to. If you made the Low Layer a Smart Object you’ll need to rasterize your Low Copy layer before you paint or do any retouching on it.
Step 3) Making the High Frequency Layer Now that we have a layer with just the color and tone we need to create the layer that will have just the texture and detail from the image. Fortunately that’s a pretty simple process.
In the Layers palette click on the High layer to select it. Then go to Image>Apply Image.

This will bring up a dialogue where you’ll see why it’s important to intentionally name your High and Low layers when you start the process. (It doesn’t matter what you name them as long as it’s clear to you.)

This dialogue looks kind of confusing the first few times you use it. While Apply Image can be used for a lot of old school techniques here we just need to remember a few simple steps.
A) Under Layer choose your Low layer. (This is why it’s important be intentional about how you name it.)
B) Under Blending choose Subtract. (This means the blurred layer will be subtracted from the non-blurred version leaving you with the difference the two - the texture and detail).
C) For Scale choose 2. This sets the strength of this step. Only values of 1 or 2 are allowed and 1 will be too low giving you an incorrect result.
D) For Offset choose 128. This ensure the base color will be neutral gray. We want most of this layer to be neutral gray because the Blending Mode we’ll use requires that.
In the screen grab above you can see how this basic layer will look. Mostly gray with the finer detail and texture showing up.
Step 4) Combining the Layers As I mentioned before I like to going through the steps to create these layers I like to make copies of them making it easier for me to step back in case I need to. So after using Apply Image to make the High layer I will first make a copy of this layer and clip it to the original High layer.
Then all you need to do is select the first High layer in your Layers palette and set the Blending Mode to “Linear Light” as seen in the screen grab below.
Once you’ve done that you should see something that looks like just like the image you started with. If you put them in a Layer Group it’s easy to double check your process by turning the Layer Group on and off. If you don’t see a difference you did it right. If you do then you need to go back try again making sure you follow each step correctly.
In the next article I’ll discuss how to use the Mixer Brush on the copy of the Low layer to blend out the wrinkles, so stay tuned…
BTW Nino Batista and I will be diving deeply into these and other topics in the in-person workshop we’ll be teaching on October 5th in Los Angeles. If you’re interested in learning more about how to be commercial retoucher you can sign up for our work shop here. (Note seats are limited so we can be sure to give everyone the one on one attention they need to get the most out of the day, so sign up now before it fills up.)