Channel Pulls!
Refine Your Selections Like a Pro! Master the art of Channel Pulls to capture fine details AI tools miss—because sometimes, old-school tricks are still the best!


Adobe has made some amazing advances with Photoshop over the decades. When it comes to making difficult selections and masks the AI driven tools like Select Subject or Select Object have become very useful.
But there are still times when even after using these really cool tools we need to capture some detail they just could not. And that is when some of the tried and true old school techniques come in handy.
My last article talked about one such old school technique, painting individual hair strands to get a more natural looking edge. Here we’ll take a look at another, Channel Pulls!
What is a “Channel Pull”? In short it’s looking at the individual Channels in your image to see if one of them has something you can use to capture the detail you need in a Selection. The term “Channel Pull” comes from the way we would grab that Channel, pull it down to the menu at the bottom of the Channels Palette to make a copy we would then manipulate to get the Selection we need.
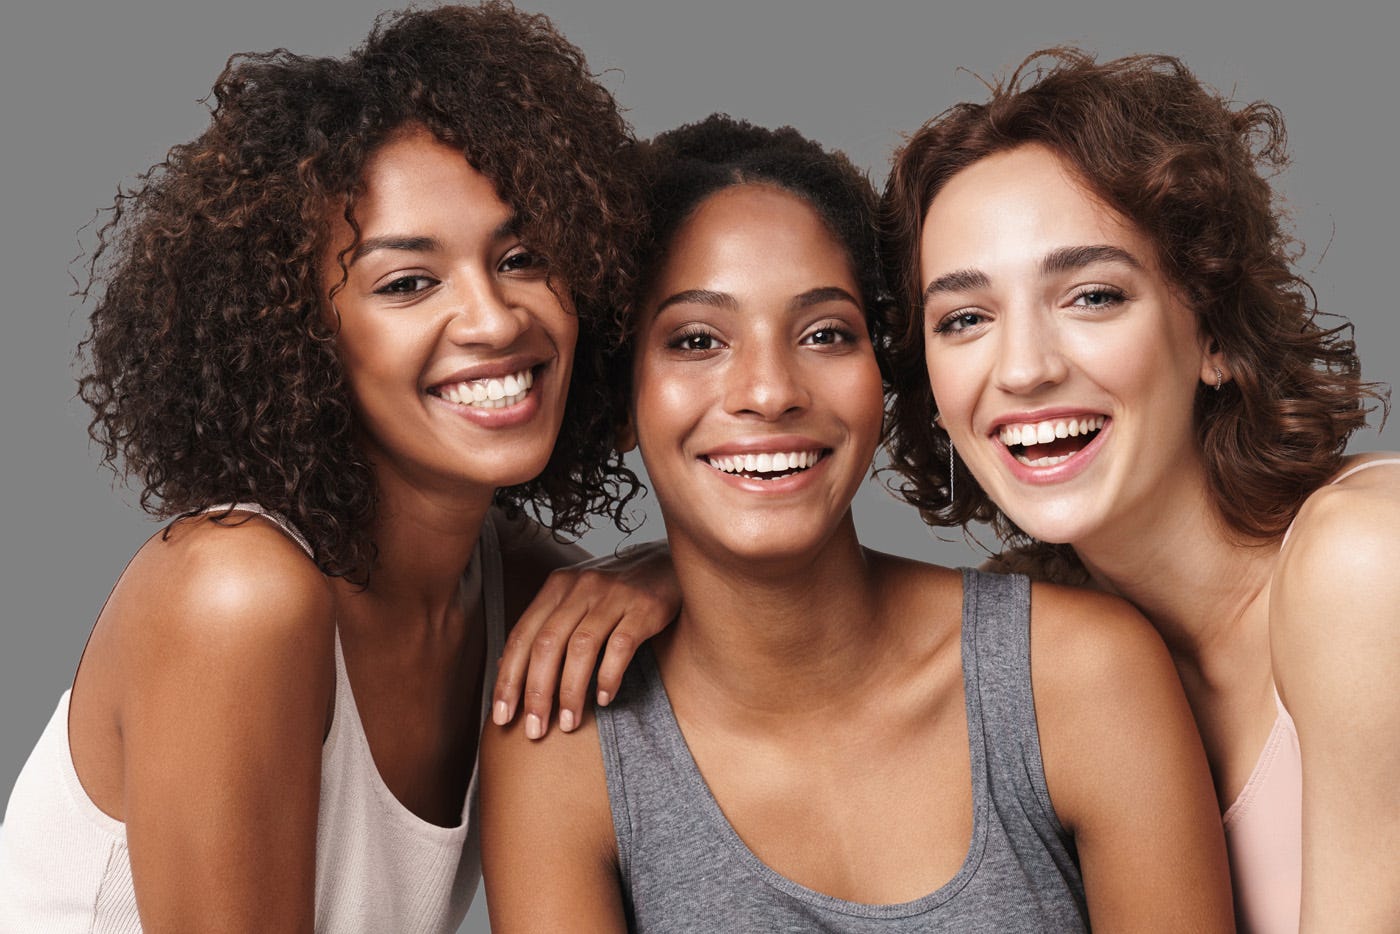
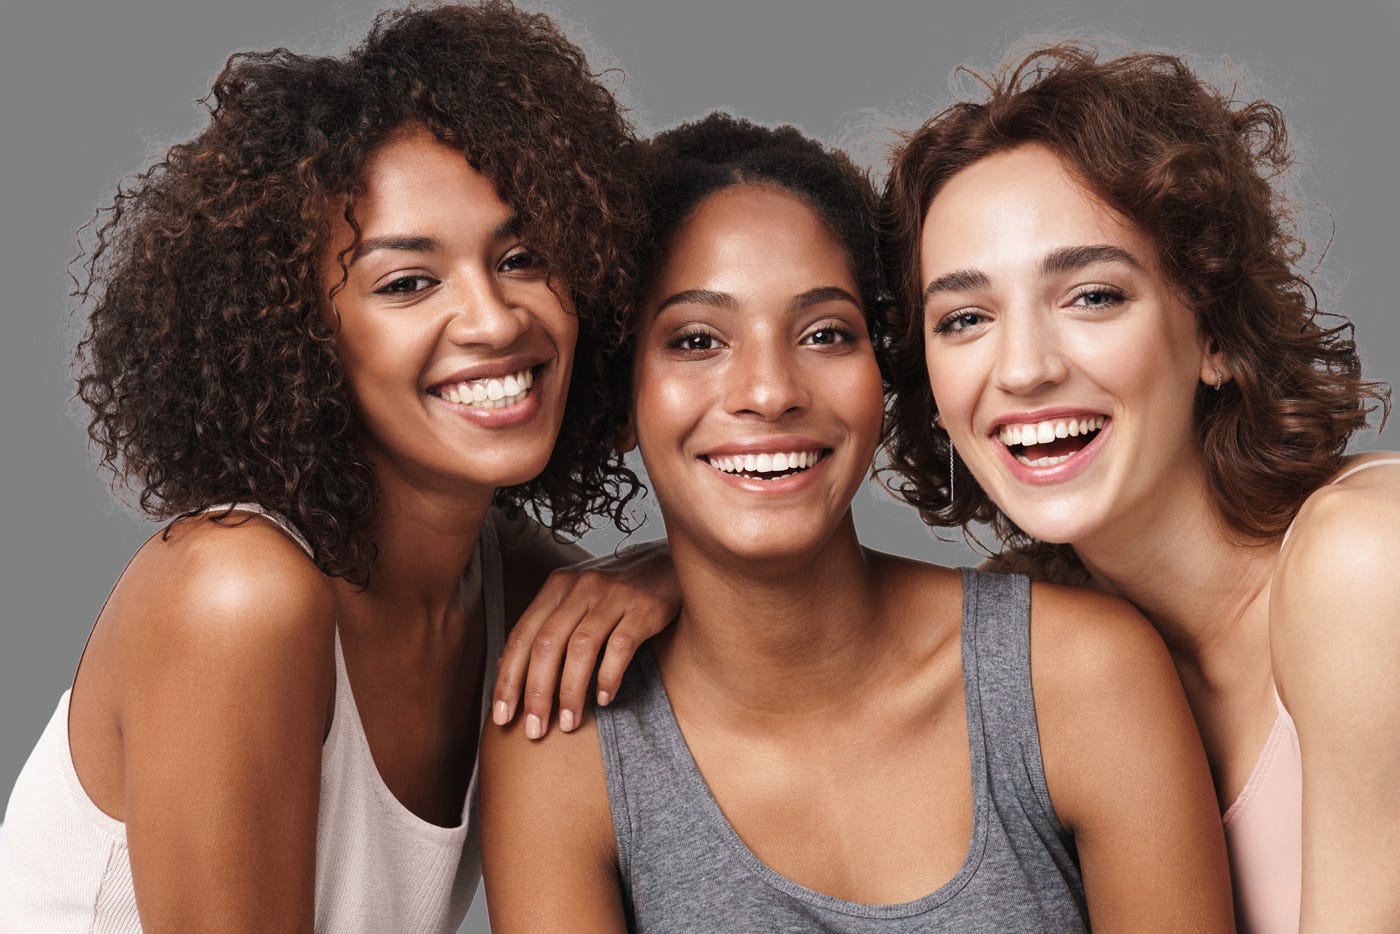
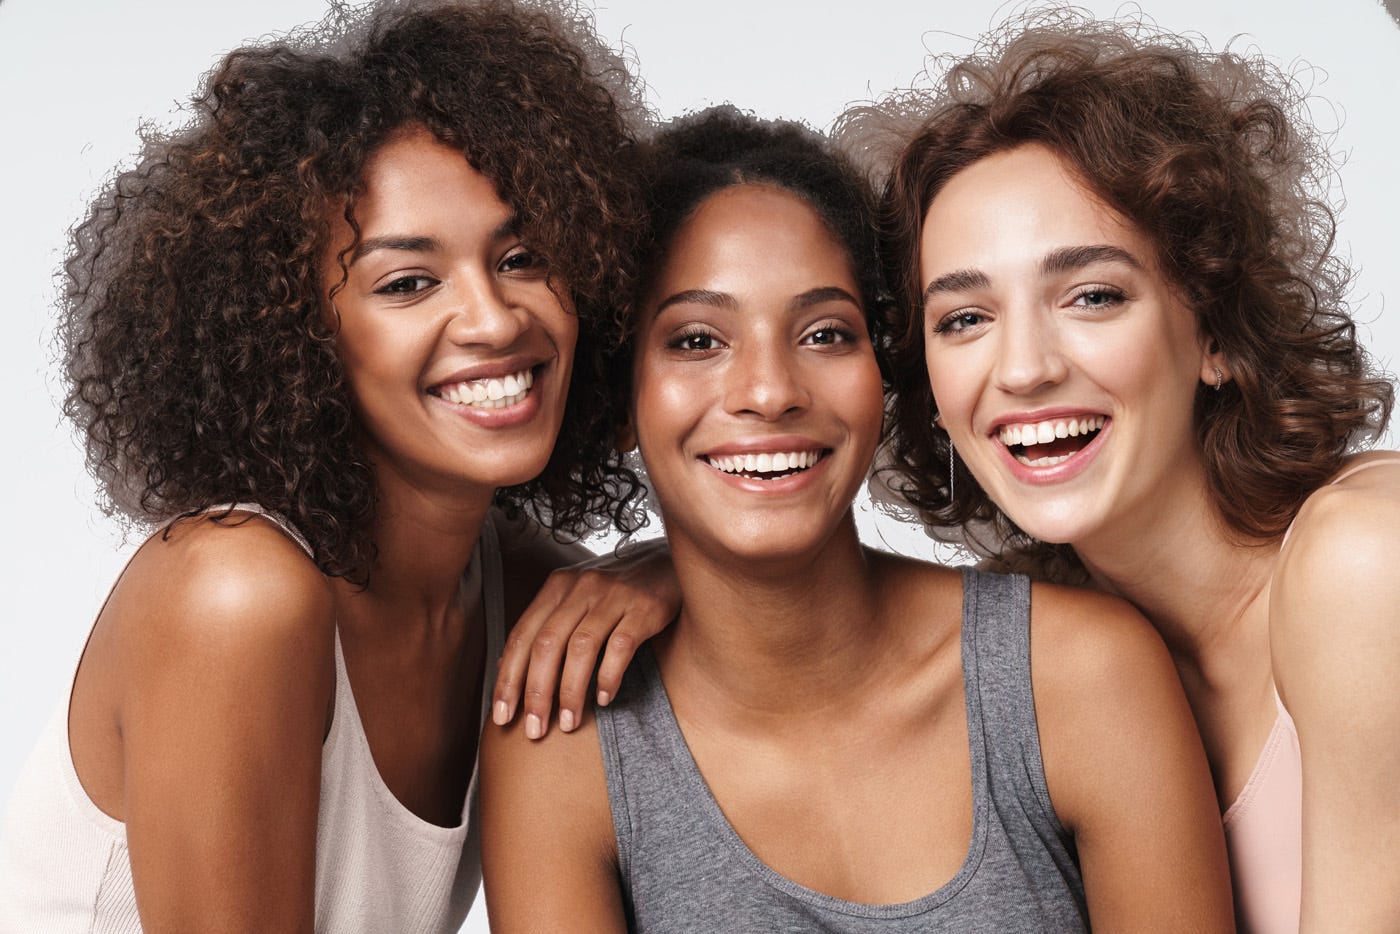
Since the most common use for Channel Pulls is to help with masking hair we’ll focus on the image below for this tutorial.
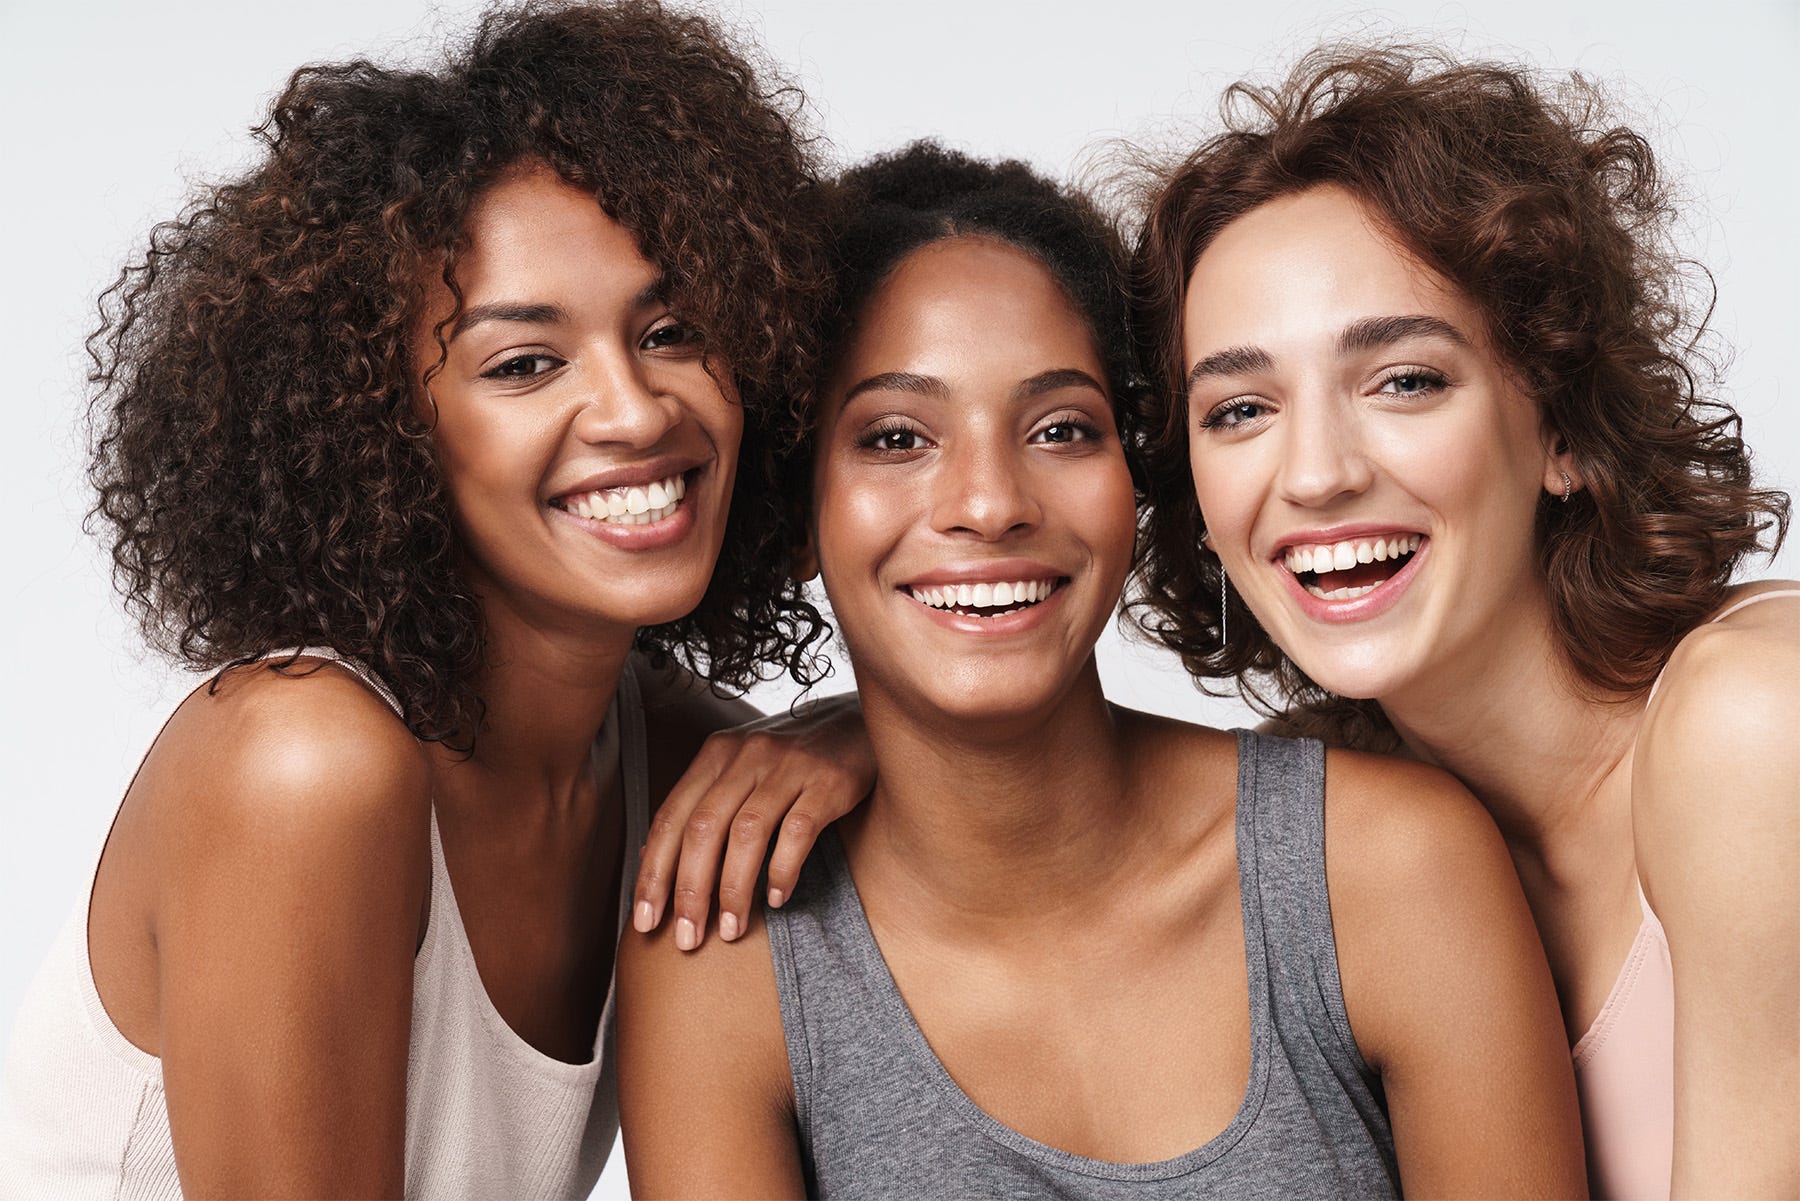
©AdobeStock
As you can see here each of these three women have curly hair, which while beautiful can be really difficult to mask properly.
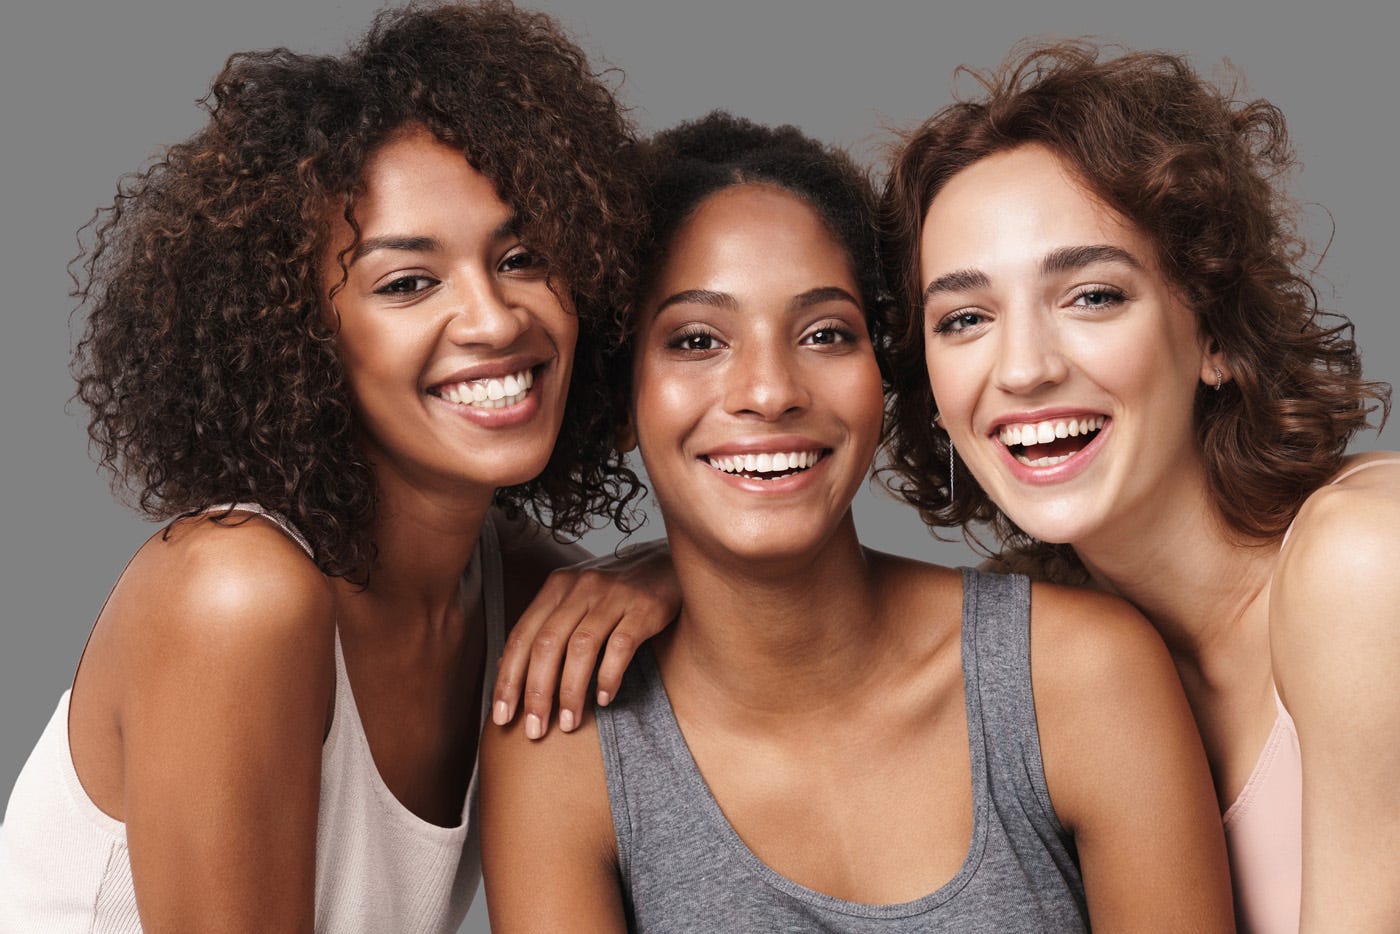
There are many ways to start creating a mask so we could replace the background but here we’re gonna simply see how well Select Subject works. Below you can see that did a pretty good job. There are some parts of the back and shoulder of the woman on the left that need addressing, but for now we’re focused on the hair.

As you can see there is quite a bit of haloing, parts of the background showing around their heads. If we’re trying to make a professional level image here that will not do.
Sometimes we can improve this result by using the Select and Mask panel, but most of the time it’s just an incremental improvement. And when those increments are not enough it’s great to have some of those tried and true old school techniques handy.
Here is where we’re gonna check out the R, G, and B Channels to see if one of these can help us make a Selection for the hair. Below you can see an image with the Red, Green, and Blue Channels side by side.
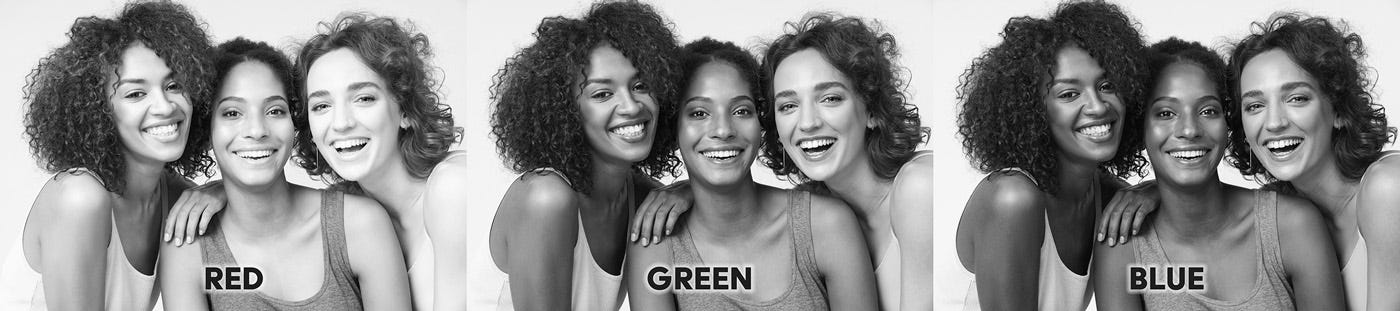
From here we can see the Blue Channel seems to show the best contrast between the models’ hair and the background. Let’s take a closer look at that Channel.
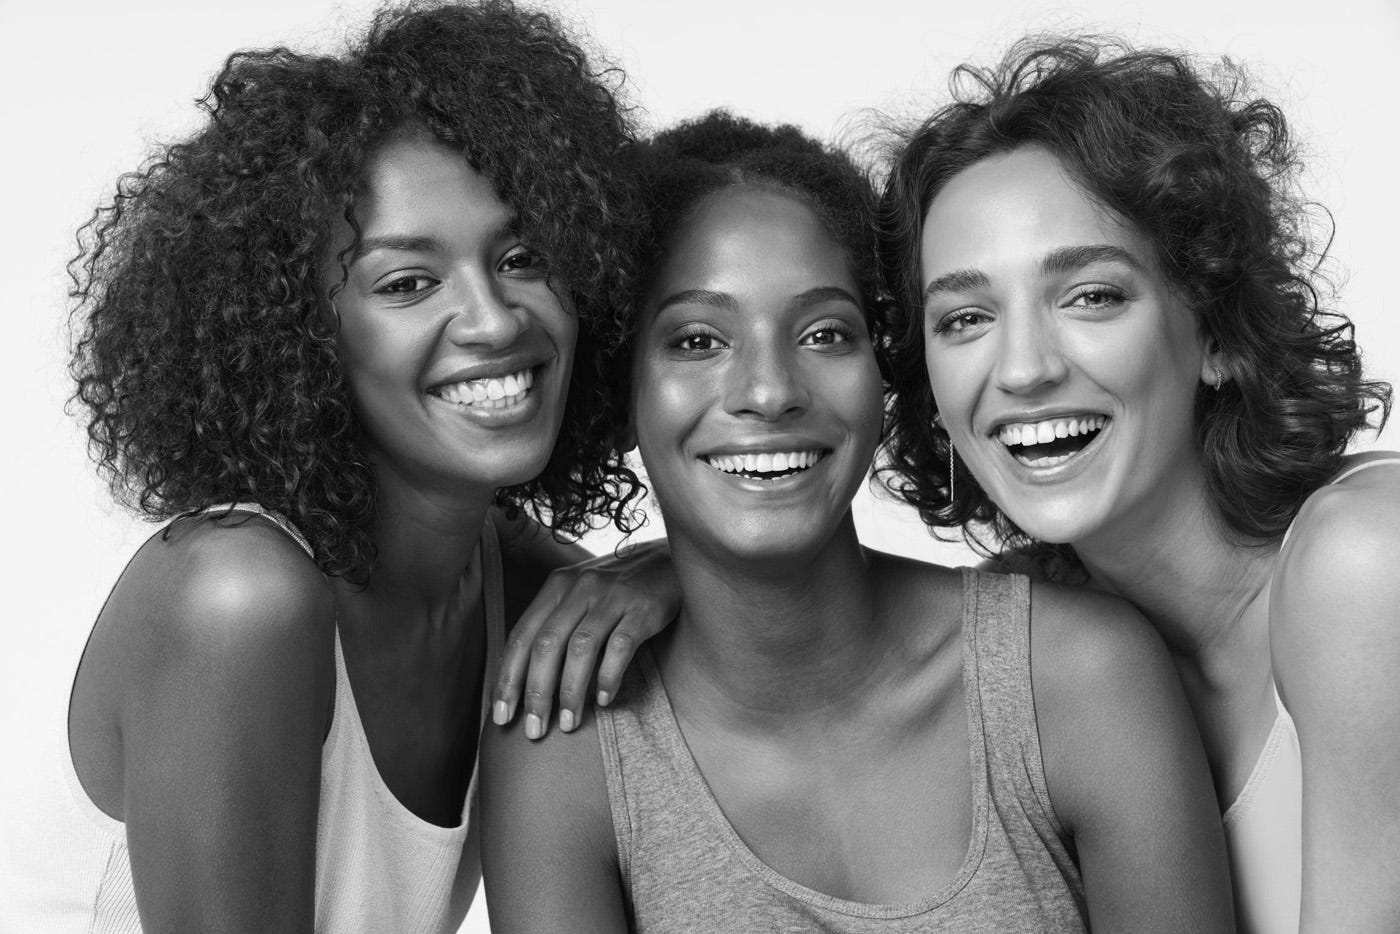
As you can see the dark hair really stands out against the light colored background. Adding a little contrast to a copy this Channel could really give us what we need.
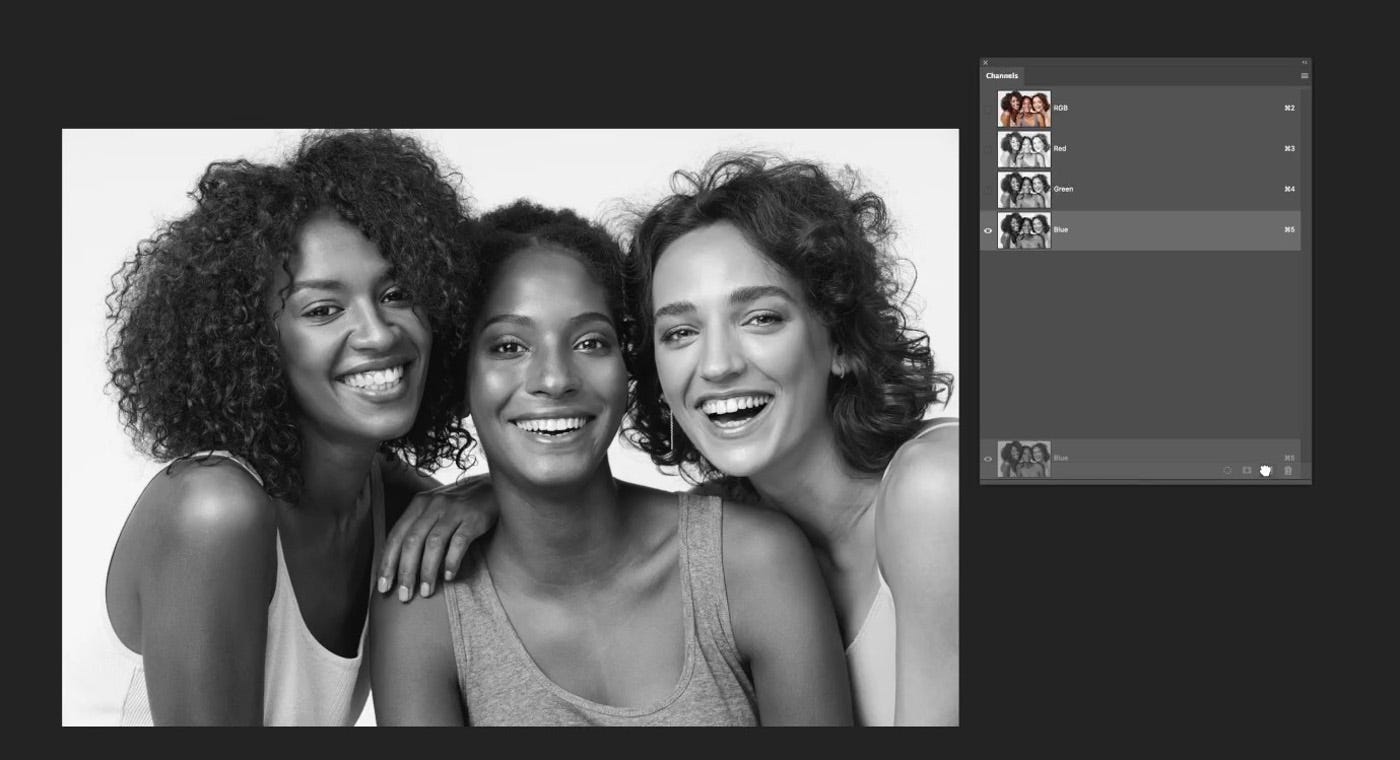
Step 1) Make a copy of the Blue Channel
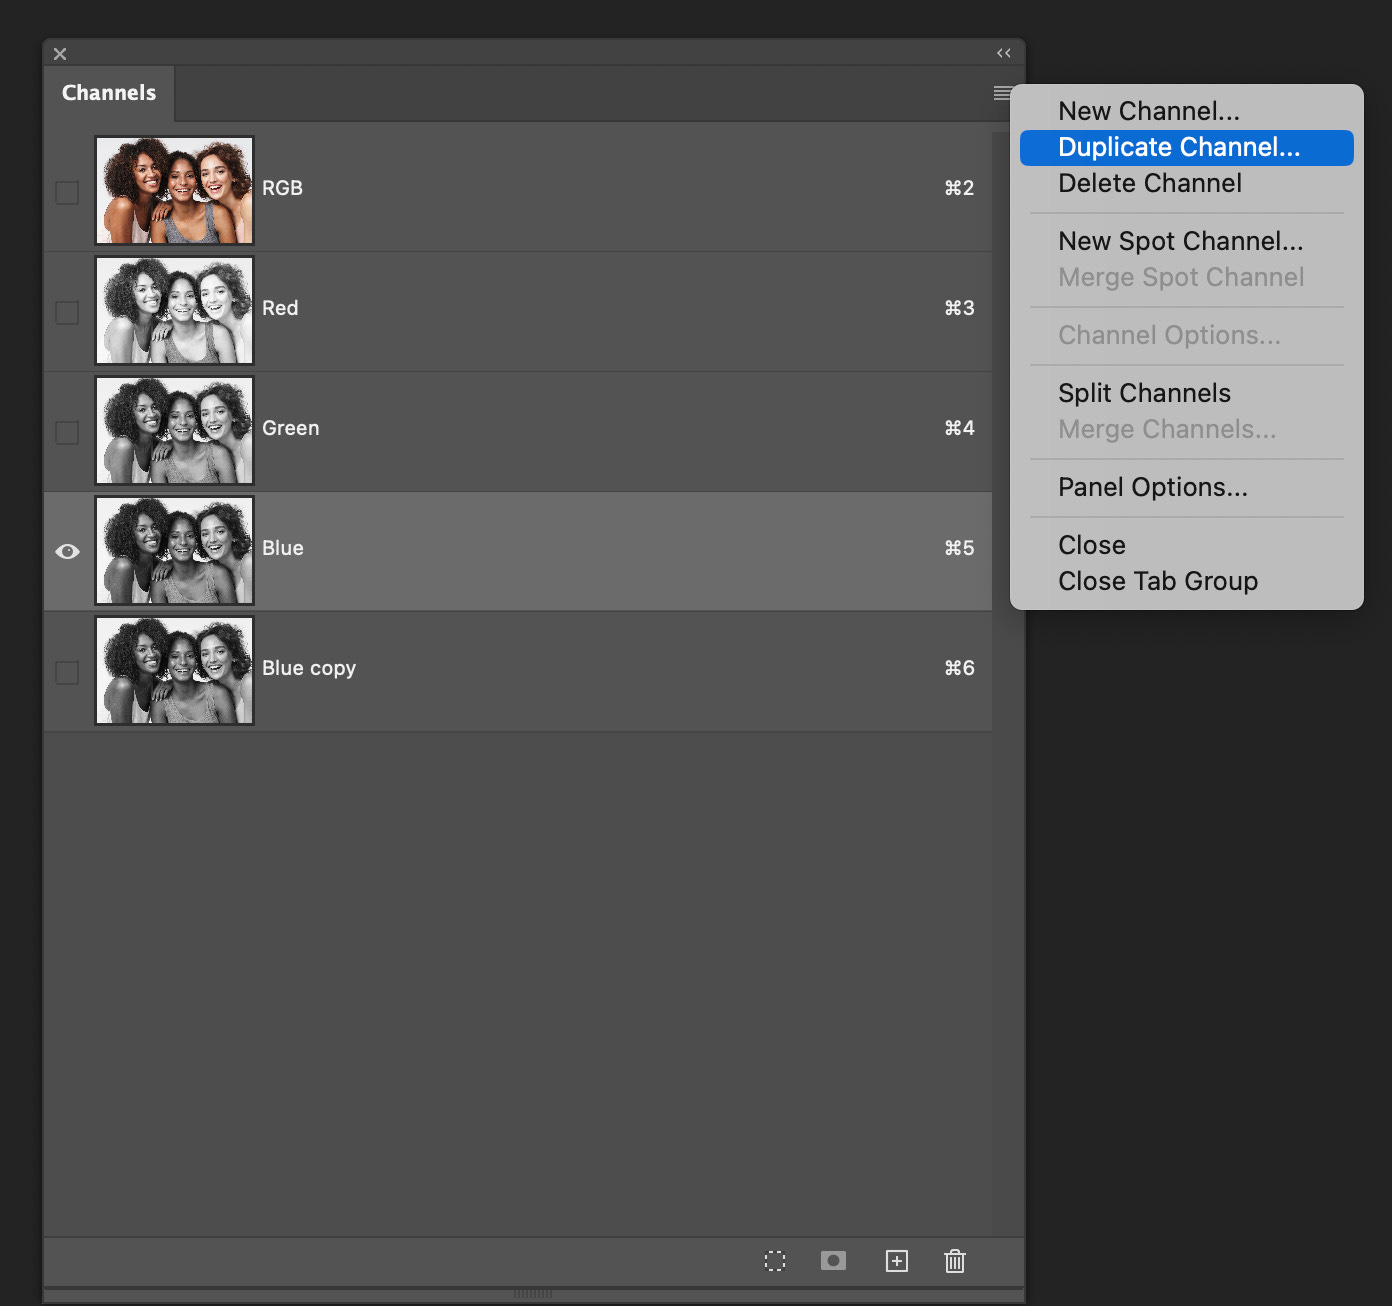
In the Channels palette grab the Blue Channel by clicking on it with your cursor, then pull it down to the little icon on the bottom left that has the little plus sign on it. This will make a copy of the Blue Channel. (This is where the name “Channel Pull” comes from.)
An alternate way to copy a Channel is to go to the upper right corner of the Channels Palette, and click on the 3 lines. That will bring up this pop up menu where you can also choose Duplicate Channel.
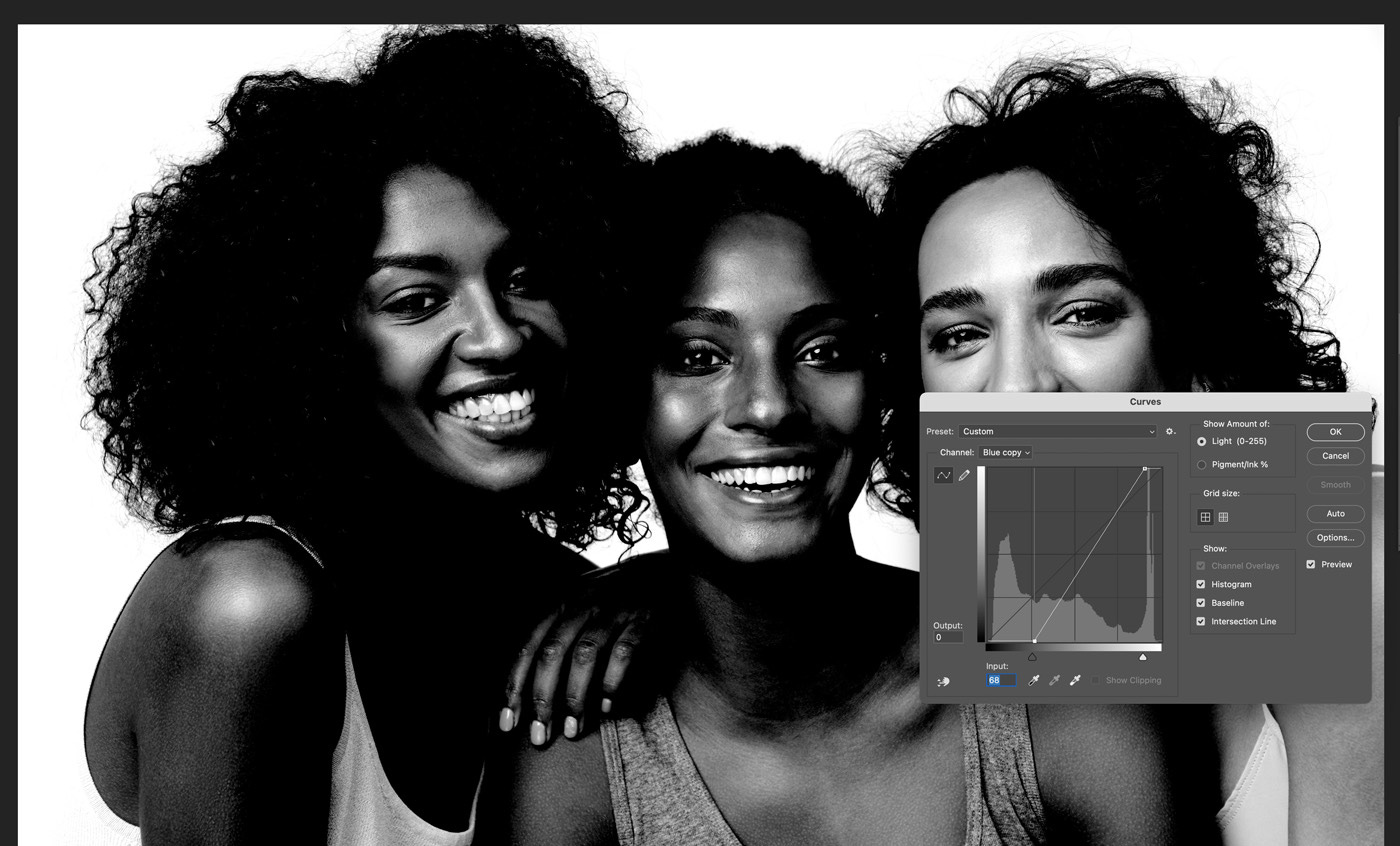
Step 2) Add Contrast to the Blue Channel copy
Now that we have a copy of the Blue Channel we’ll need to add some Contrast to make sure we can get a good selection to use with the mask we made with the Select Subject command. Click on the Blue Copy Channel in the Channels palette then bring up the Curves dialogue by tapping Command + M (Ctrl + M for Windows users). The Curves dialogue gives us a lot of control over just how we add the Contrast. In this case all we need to do is to bring the White Point over to the Left just a little. Then we bring the Black Point over to the right a little more, enough to be sure the hair edge is solidly Black as seen in the image below.
Step 3) Use the Modified Blue Channel Copy to Refine the Edge of the Mask
Here we’ll take the first step in refining the edge of the Mask around the hair that we made using Select Subject.
With Photoshop’s Channels any area that is White will be selected. Since the copy of the Blue Channel we made shows the background is White when we load that as a Selection the background will be Selected. And remembering we want to clean up the halo the bits of background are making around the models all we need to do is to load the Blue Copy Channel as a Selection and then use the Brush to paint Black on the mask around the hair.
That goes a long way towards cleaning up our mask as seen below.
Before

After
Step 4) Use the Blue Channel Copy to Bring Back the Stray Hairs
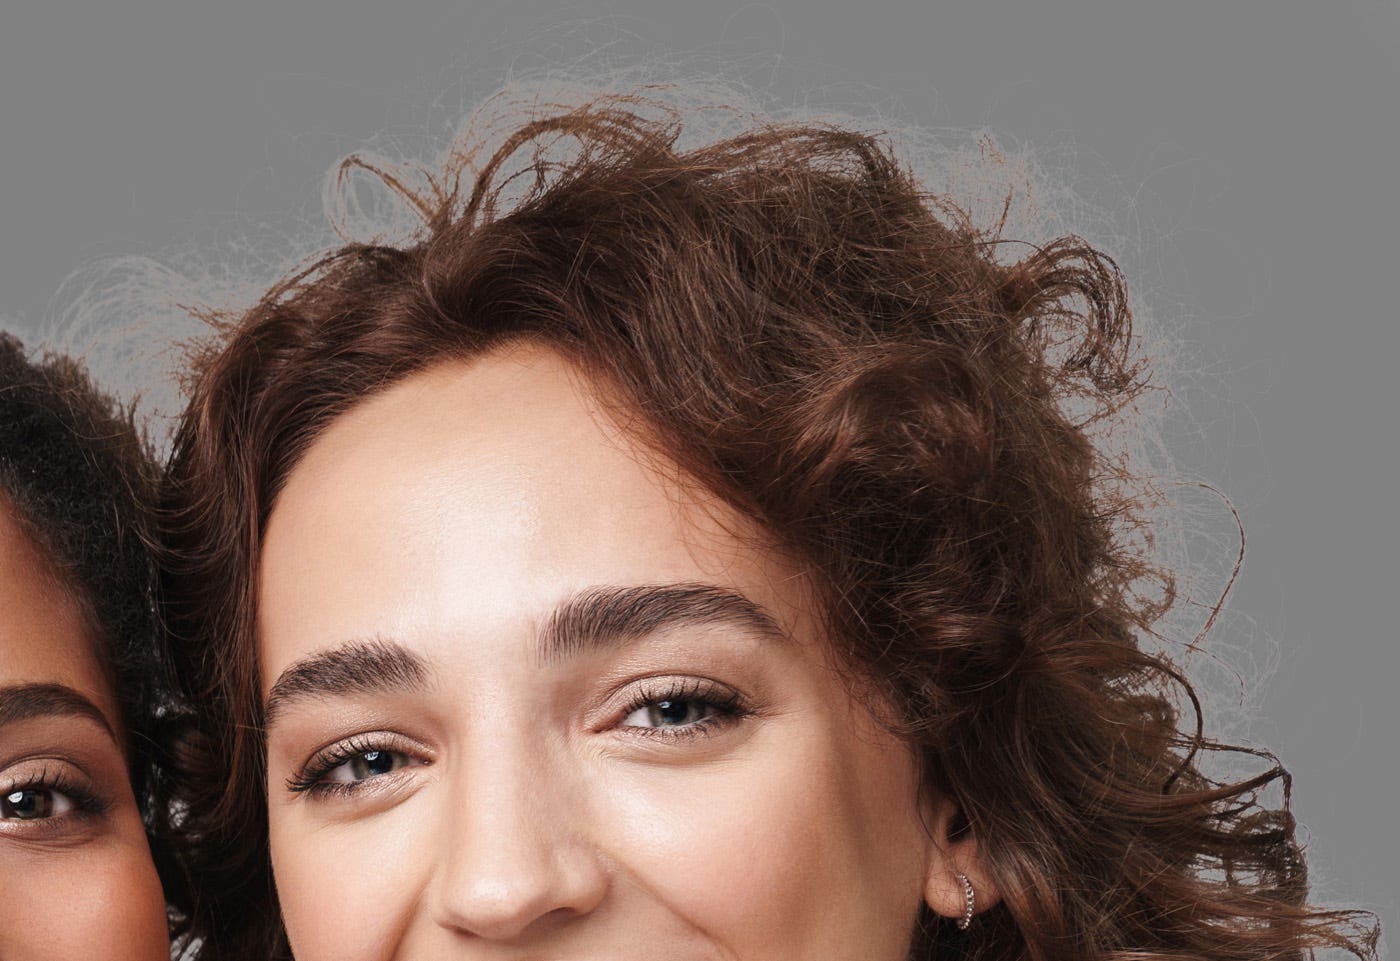
As you can see this simple move went a long way towards giving us the result we need. But when we look more closely there are parts where the edges of the hair look like we’re missing something.
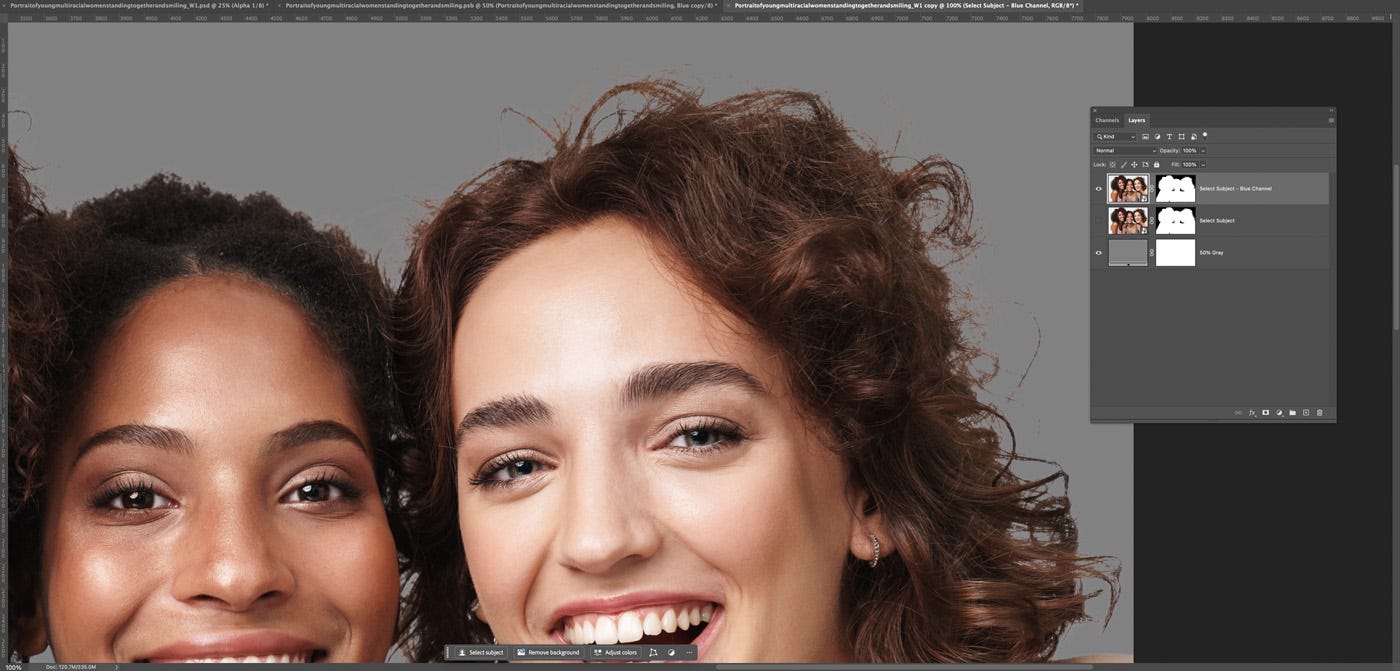
Fortunately we can use the same Blue Copy Channel we made to fill in more of the hair. Since the Selection we made is still active all we need to do is invert the Selection so the hair, not the background will be selected. To do this just go to Select in the top menu and choose Inverse. The Mac Keyboard shortcut for this is Shift + Command + I. On a Windows machine that would be Shift + Ctrl + I.
Now that we have the hair selected we again use the Brush tool, but this time we’ll paint White around the edge of the hair to bring back some of the hair we’re looking for.
Below you can see how the edge of the hair has a little of that halo back. (Not to worry, we’re gonna fix that in the next step.)
And here is a closer look.
Step 5) Fill in the Halo Around the Hair
While some of the haloing we objected when we first used Select Subject to create our initial mask is back it’s now a lot less. And cleaning that up from here is a much simpler matter.
To do this we’re gonna go make sure we have the mask for our layer selected in the Layers palette and then in the Properties panel we can simply tap on “Select and Mask”. That will bring up the really powerful Select and Mask panel as seen below.
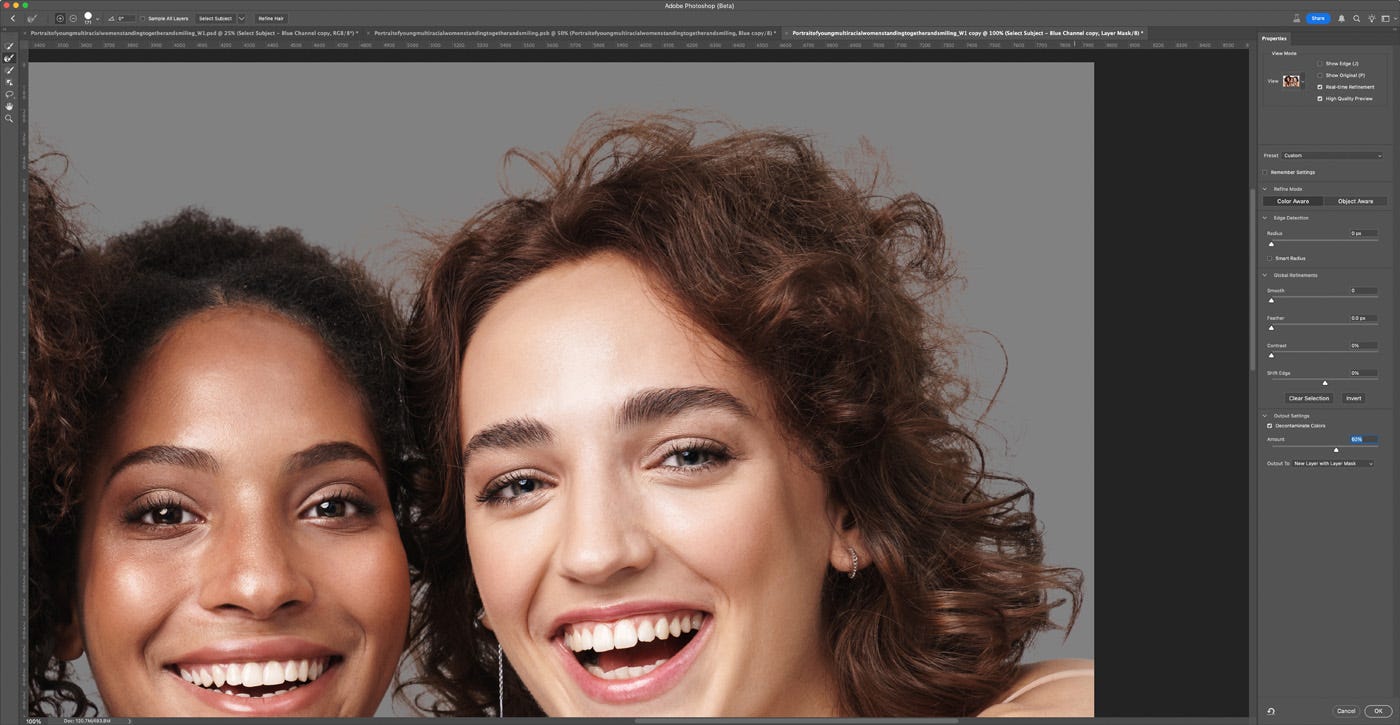
In the Select and Mask panel, shown on the right of our image, all we need to do is click on “Decontaminate Colors”. When we tell Photoshop to do this it spreads out the colors it sees near the edges of the masked layer so they will cover up any haloing or contamination from the background.
When using this I almost always slide the strength of this down to somewhere around 60% or so. This helps keep the bleeding out of the colors from overwhelming the colors and tones near the edges. I also really like to choose the New Layer with Layer Mask option in case I need to fix any areas where the color bled into the parts we want to keep too much.
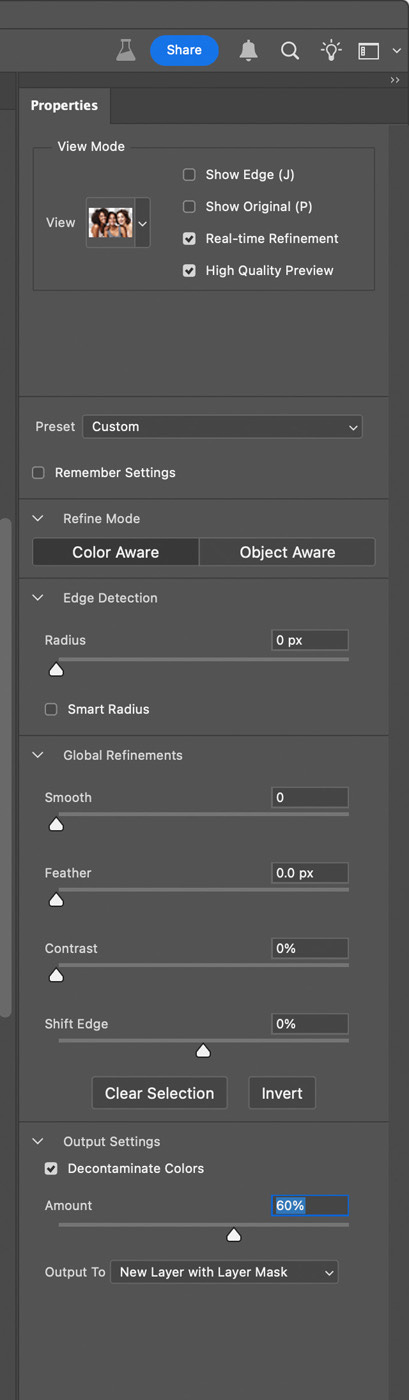
Here’s a closer look at that panel.
Here is what the result looks like when we turn the Layer Mask off.
And here is the result when we have that mask turned on.
As you can see this is a big improvement over what simply using Select Subject gave us. For many uses this might be all we need to do. But if we need to finesse the result any more all we need to do is simply paint in some hairs around the edges of their heads. (See my Hair Painting tutorial here: https://dennisdunbar.substack.com/p/retouching-secrets-of-the-pros-natural )
As you get more comfortable with using Channel Pulls to create Selections you’ll find it can be really powerful when you need to address close in specific areas of an image. Sometimes this means doing more than one Channel Pull because the contrast might be different in one section of the image than the rest. Gradated backgrounds for instance. And sometimes it’s helpful when it’s just a small bit of detail we need to capture, like the lacy edge around some fabric.
And when you get really comfortable with this you’ll find your self exploring other options as you look for Channels that could be a good source for you such as converting a duplicate of your image to CMYK or even LAB. Whatever the challenge this tried and true Old School Technique can be a really handy one to keep in your tool box.